InDesign / Publishing Basics
1. Setting up a Document with Bleed, Margins and a Baseline

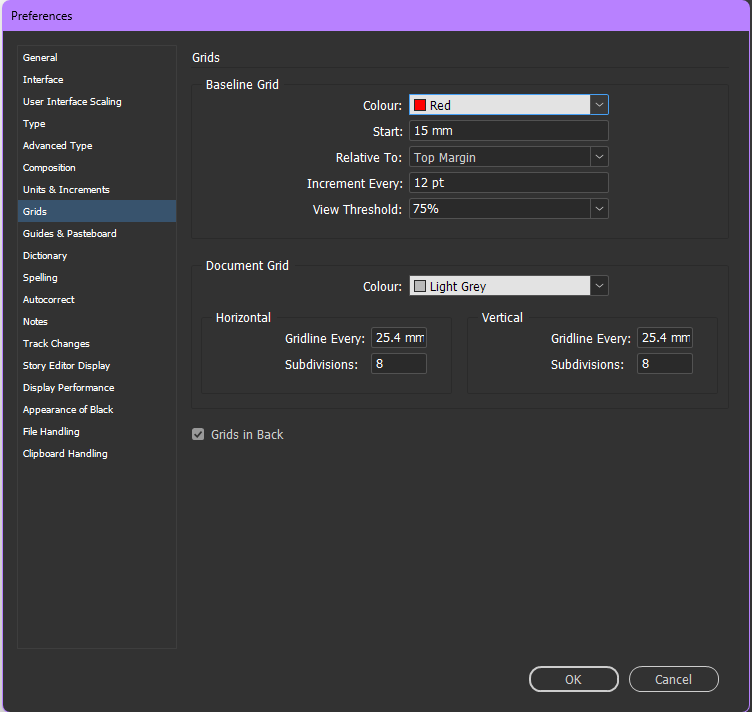
The first thing I do when setting up my document in InDesign is decide whether I want to start with the front cover or the inside pages. Referring to (1.) we would begin on Page 2 if we don’t want a Front Cover. (2.) Refers to how large our Margin should be which is your ‘Safe Print Area’ and (3.) Refers to how much Bleed you will need, typically around 3mm.
Additionally you may want to setup a Baseline Grid which ensures Text is consistent throughout. This is done in Preferences > Grids.
2. Adjusting the Baseline Grid to Match the Document and Text

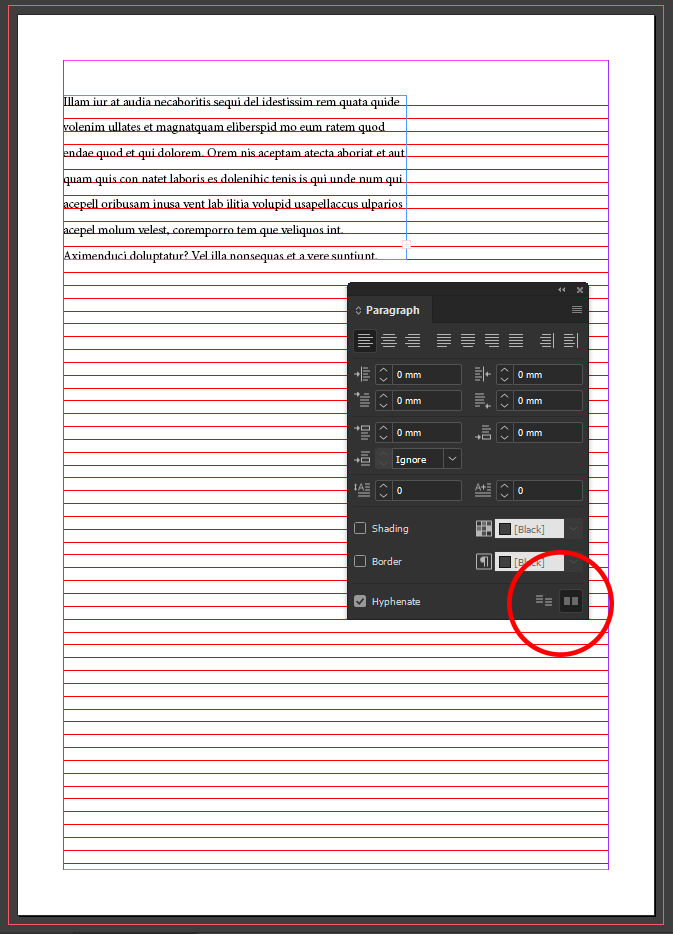
If we opt to include a Baseline Grid (as we generally should for professional use), we need to ensure our Text sits on top of the Grid neatly. This is achieved through the Paragraph Window in which we simply Check the Bottom Right Icon as shown on the Right Image.
As you can see the text now sits comfortably on our Grid, this is true of any future Textboxes we add to our Document and is generally considered an Industry Standard.
It is not the case that we must always restrict ourselves to this Baseline, certain Titles or Artistic Elements may need to be untied to it. This is when we look to apply individual Rules to different Textboxes and Titles.
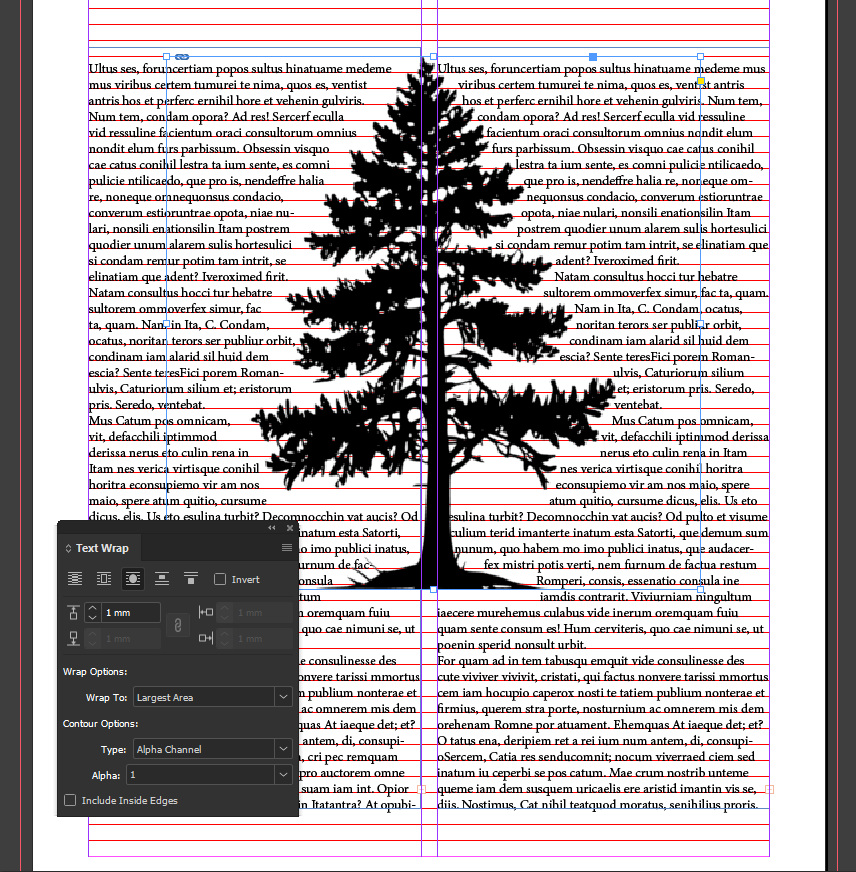
3. Wrapping Text – Basic and Advanced
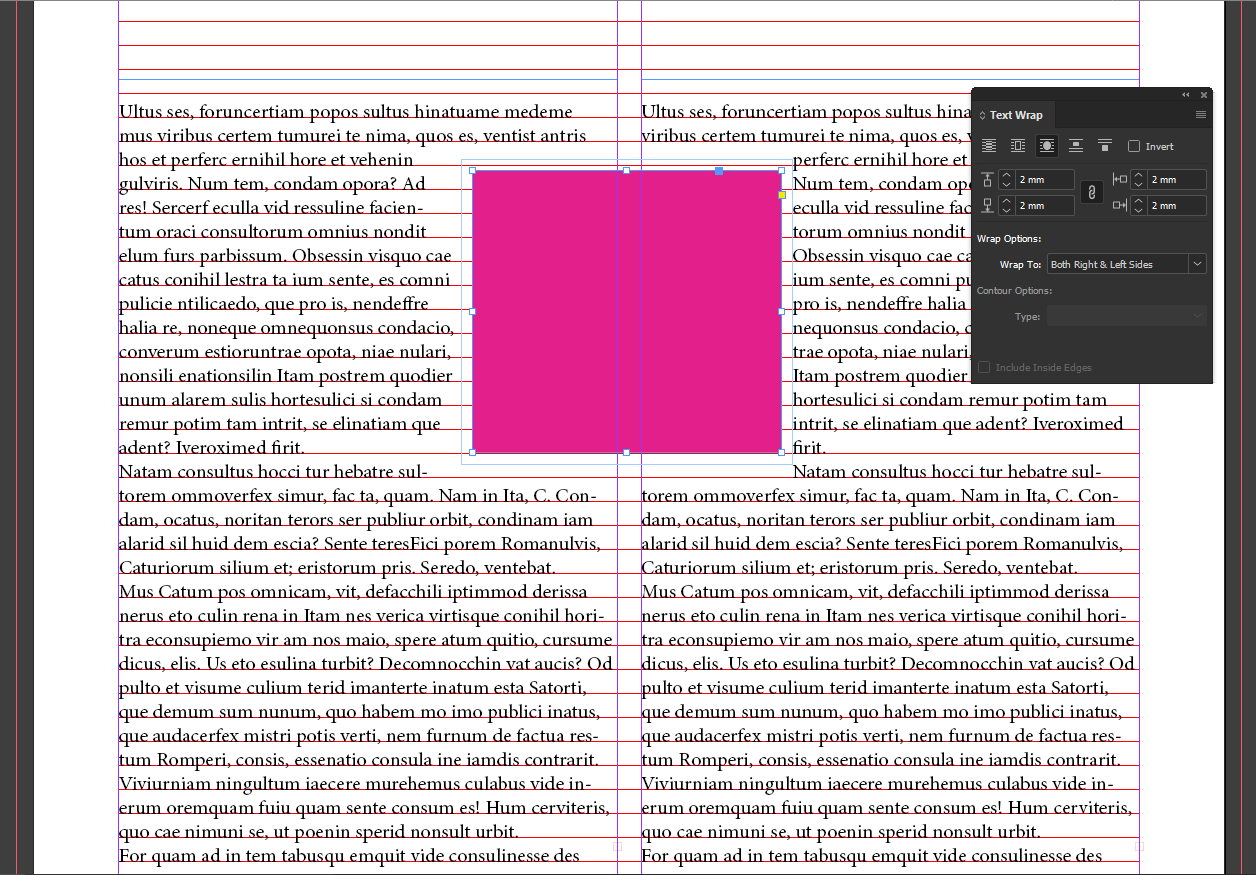
When adding images to our Document, we generally add a Text Wrap to them
to ensure that our Text is not being hidden behind it and wraps around our visual elements.
Below you can see the difference between: No Text Wrap, a Basic Text Wrap and a more Advanced Text Wrap with our tree which uses an Alpha Channel Wrap.

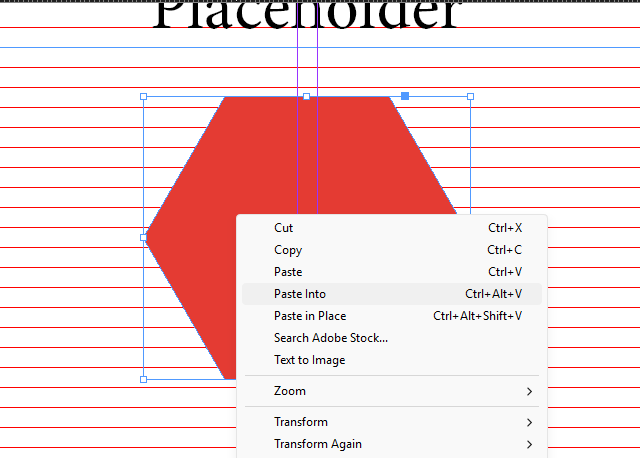
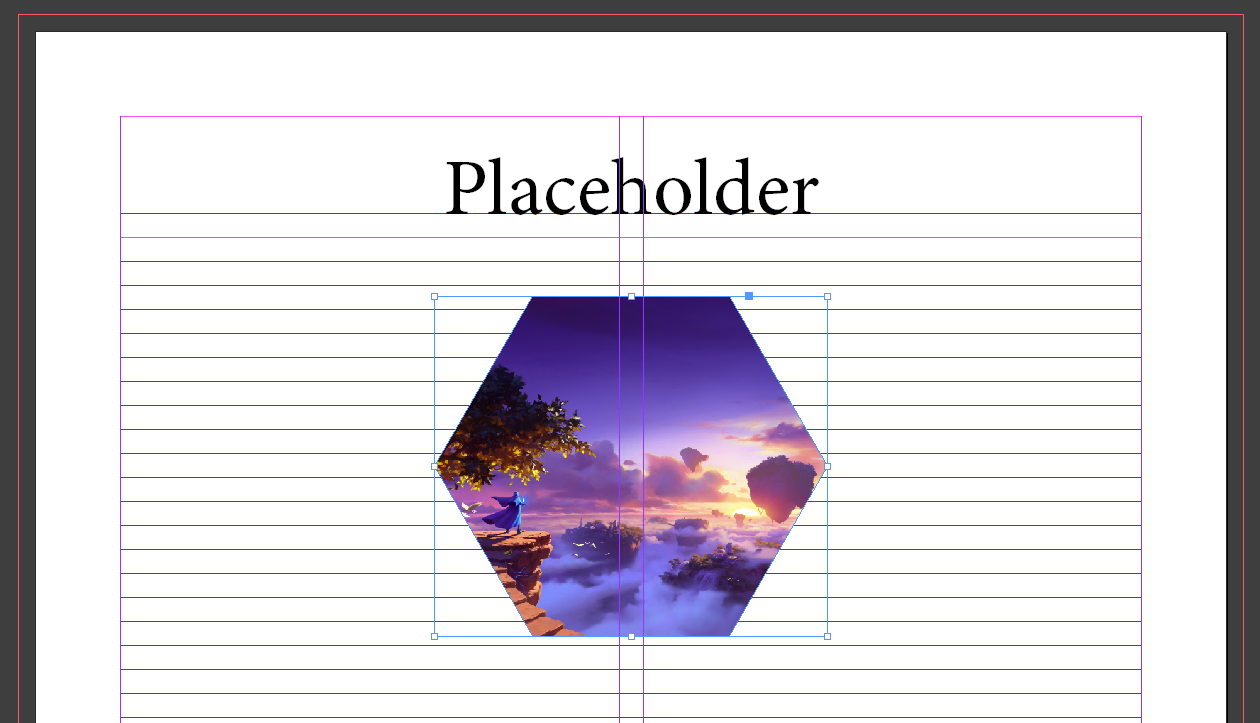
4. Introduction to Masking Images
When inserting images into our Document it can be as simple as Copy/Pasting it into place. However, we generally work with Masks to ensure everything is sized as we want it to be. Below you can see how we use an example Hexagon to Mask an Image and have it Display in a Shape/Size that we prefer as opposed to simply pasting it in place.

5. Masking Images Twice and Fitting with a Two Page Spread
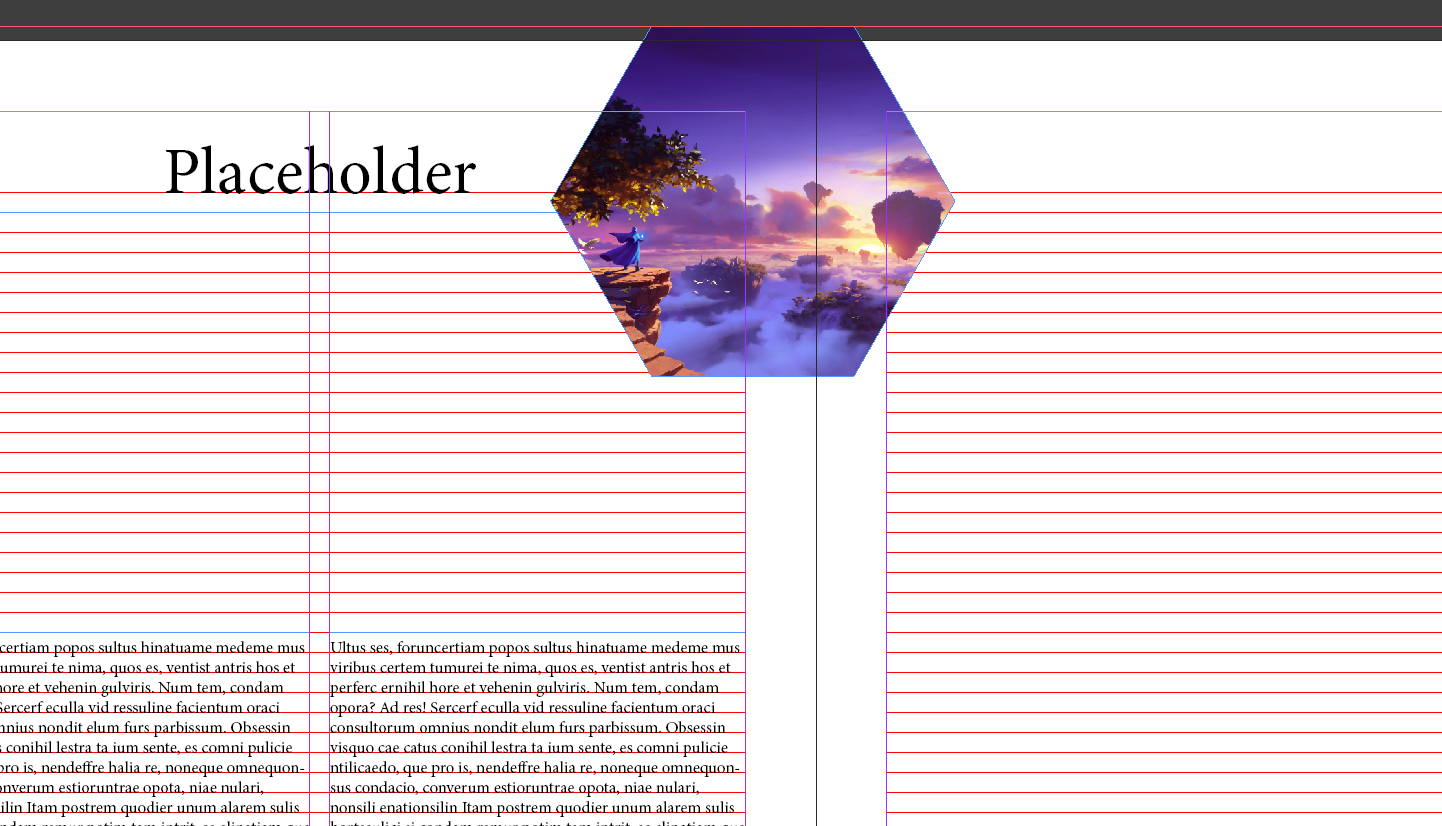
Now that we have Masked our Image, we are going to cover how we manipulate it even further, to fit our Document.
As you can see from our Examples here, we are now working with a Two Page Spread. This means that our Image is going to Print across ths Gutter and Display on Page 2, which we don’t want to happen.
To fix this issue, we will draw a new Square with a 0% Opacity around the area we want our Picture in. Note that this should include the Bleed. All we are going to do now is Cut our Masked image and Paste Into our new Square. This creates what is essentially a twice Masked image as demonstrated in the second example.

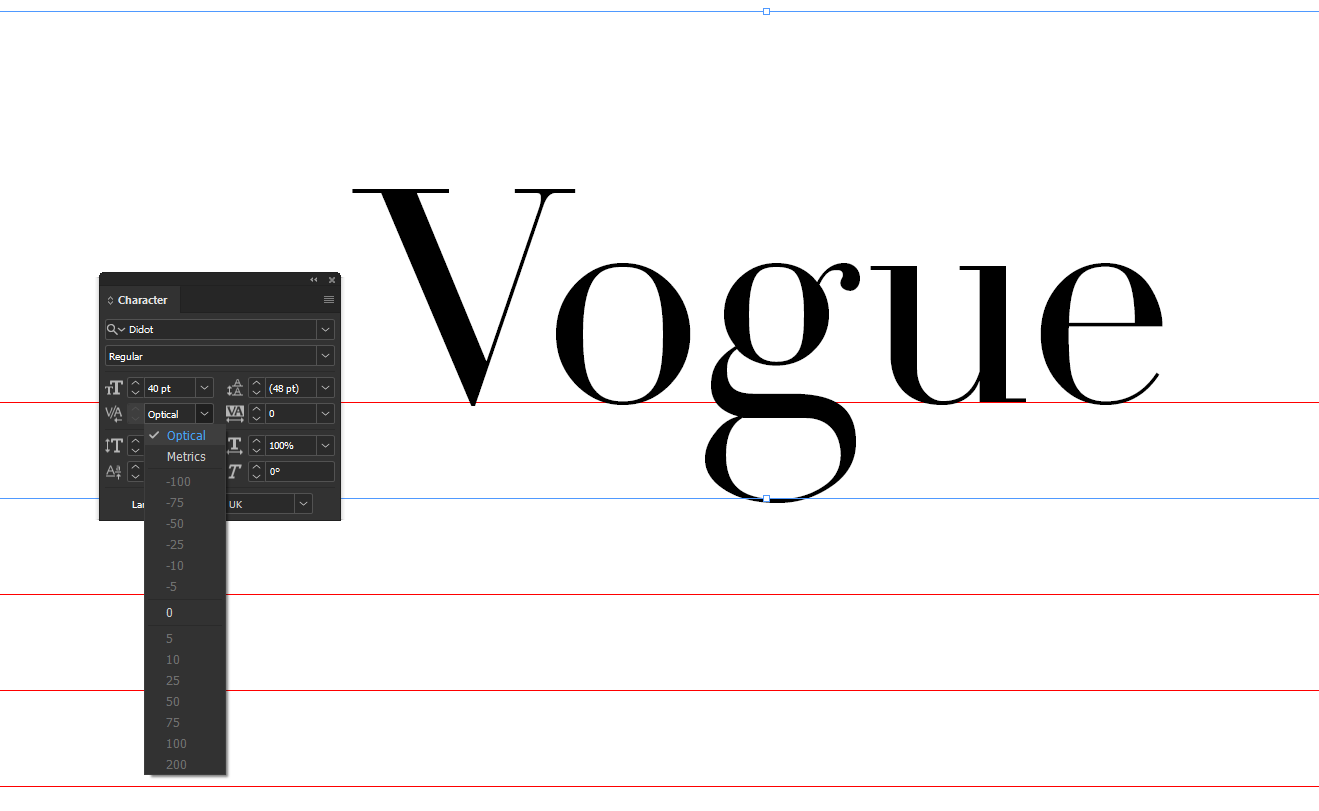
6. A Brief Introduction to Metric vs Optical Kerning
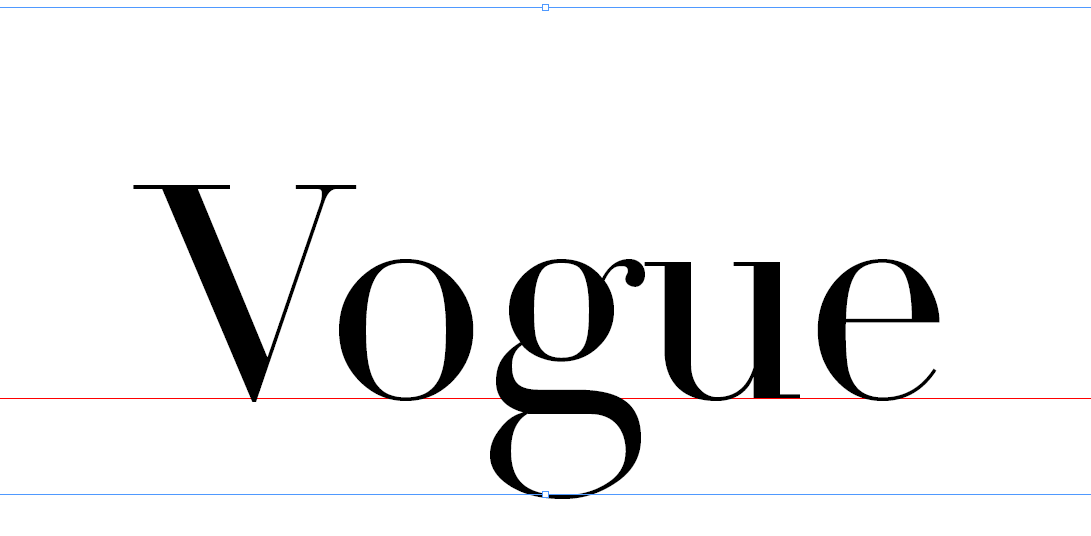
Occasionally when we work with more stylistic Fonts, you may run into a similar issue to the Left Example in which the serif is a little bit cramped. To resolve this we might use Optical Kerning as opposed to Metric to ensure that the spacing is more balanced.
Because Didot is very fine and uses high-contrast strokes, we swap from Metric to Optical in our Title because it’s much more visible to a reader.